 |
|
October 28, 2006
Now that we had a colorful back door, the rest of the kitchen seemed uglier, darker, and more depressing than ever. I had just finished the closets and was ready for a break, but Monte couldn’t stand the ugliness anymore and decided to dive in to a new Project.
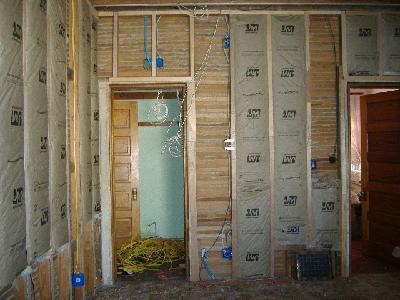
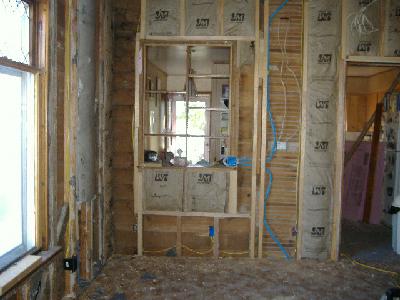
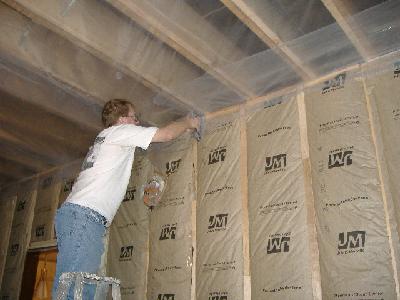
The kitchen certainly wasn’t in our plans, and we had no money for it, but since we had a few weeks before the drywallers could come for our Great Room Project, we figured we could at least spruce up the room somehow.
|
| |
|
|
 |
|
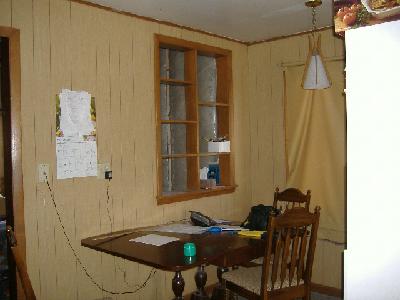
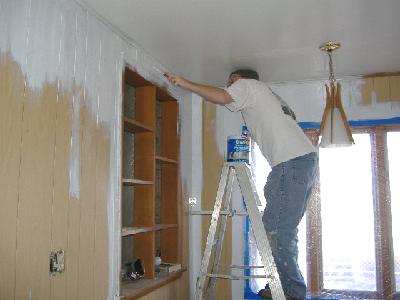
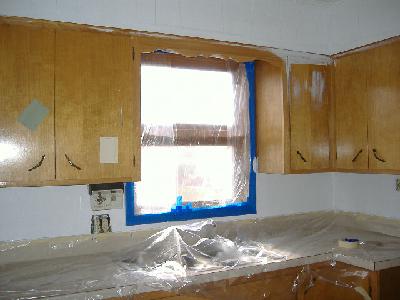
Good thing paint is a cheap fix. We considered removing the wood paneling, but weren’t sure what the walls were like behind it–we suspected the paneling was put up instead of drywall.
I’d done internet research into whether one could paint wood paneling, and mostly what I found were posts begging people not to ruin it by painting over it (or ripping it out.) Huh? Ruin wood paneling? You mean, people actually think it’s beautiful?
After encountering several such gushing comments about the loveliness of wood paneling, I finally realized they were talking about walls paneled with real wood. What I’ve known as "wood paneling" are the 4′ by 8′ sheets of fake-wood panels popular in the 1970’s. Ripping that out or painting over it can only improve its looks, trust me.
|
| |
|
|
|
|
|
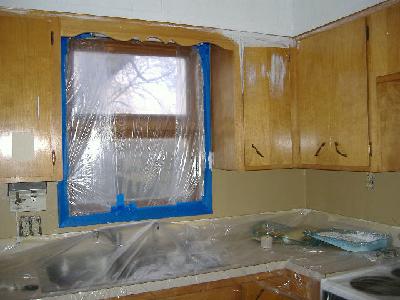
And it did–we couldn’t believe how bright and cheerful it made the room! Of course, it also helped to remove and throw away the ugly broken window shade from the east window. 
|
| |
|
|
 |
|
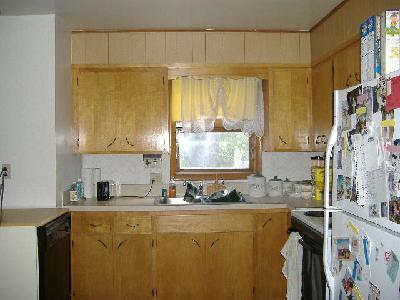
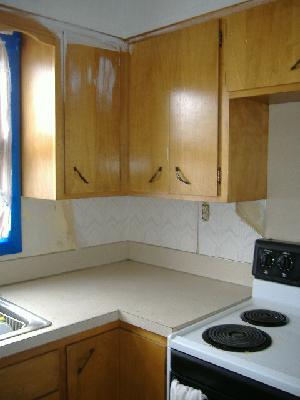
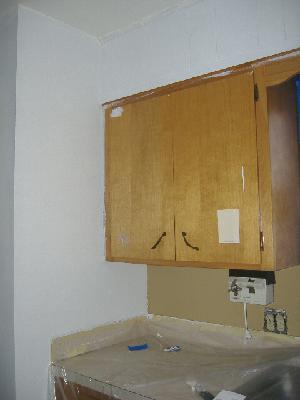
Here’s the south wall of the kitchen with the cheap, ugly cabinets. You can see the wood paneling above the cabinets, wallpaper under the cabinets, and a painted wall to the left of the cabinets. Nothing like a little variety to add interest. The entire kitchen was this hodgepodge of paneling, paint, and wallpaper. |
| |
|
|
 |
|
I took over the Project, and over the next several days, removed wallpaper, patched plaster, and did most of the painting. |
| |
|
|
 |
|
I decided to do something bold (for me, anyway) and use an actual color in the kitchen instead of just an off-white. I was too chicken to paint the entire kitchen in a color–and besides, after having that ugly tan paneling, we wanted something brighter for the walls–but I thought a little color by the cabinets would be acceptable. |
| |
|
|
 |
|
So I chose not one, but two colors–one for under the cabinets… |
| |
|
|
 |
|
…sort of a bronzy gold… |
| |
|
|
 |
|
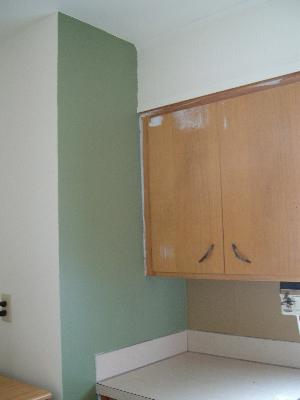
…and another for the wall facing the cabinets, a sage green. The rest of the walls were painted in a creamy white. |
| |
|
|
 |
|
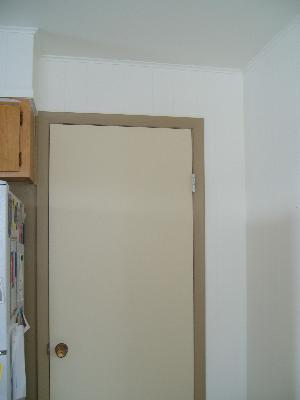
We painted some of the wood trim and the bathroom door, too. (The kitchen woodwork/doors are cheap stuff from the 70’s, not the real wood original to the rest of the house. We would never paint over the real wood!) |
| |
|
|
 |
|
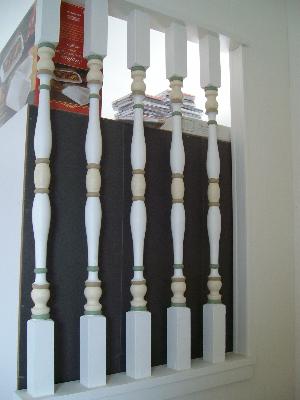
I got my Victorian touch by painting these newels in multi-colors.
We ran out of time to paint the cabinets (since they need to be chemically stripped first), couldn’t do anything with the countertop, and left the ugly gray carpet. We meant to rip up the carpet and replace it with tiles, but the carpet is glued down to plywood flooring, and we simply didn’t have time to scrape it up.
Even though we didn’t finish this Project, it was still vastly improved, and made more acceptable for company.
But we still had the Great Room to worry about…
|